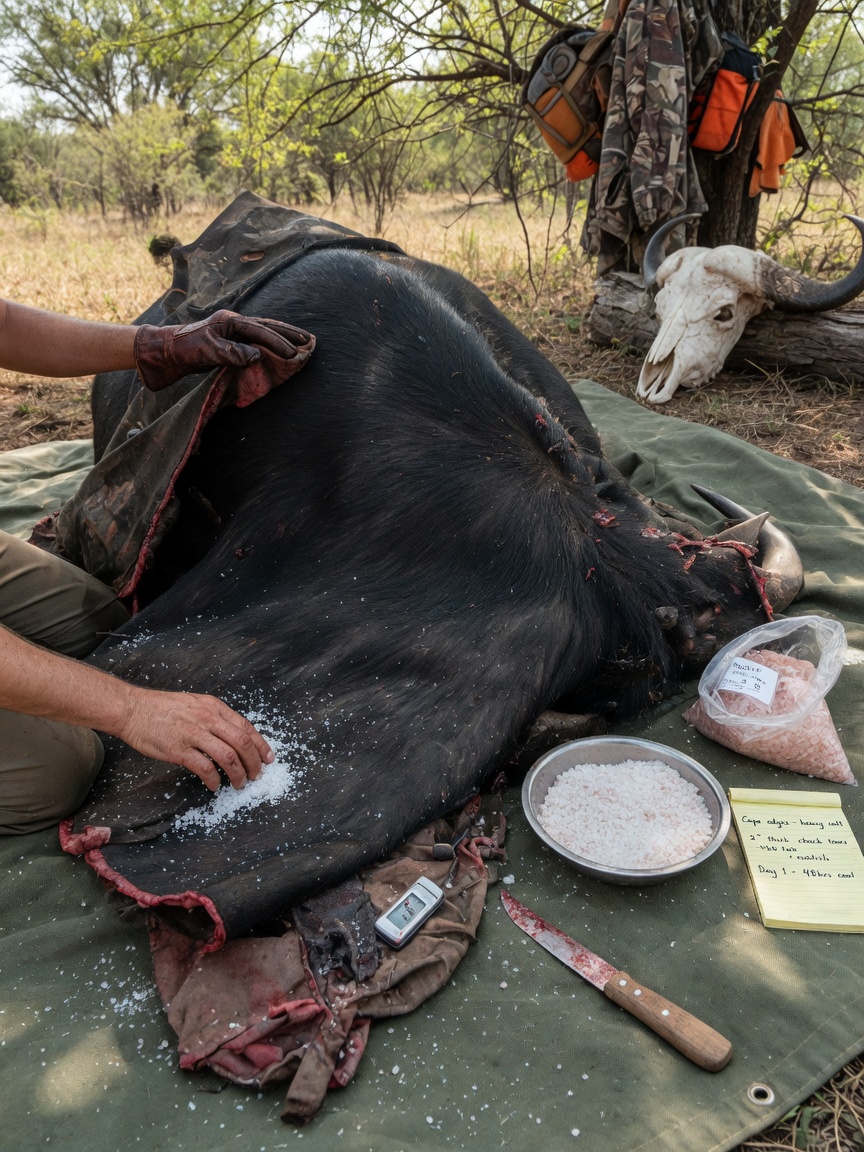
The moment a Cape buffalo goes down after a well-placed shot is one of the most intense experiences in hunting. These massive animals, often called the Black Death for good reason, represent the pinnacle of dangerous game pursuit. Yet the hunt itself is only half the story. What happens in the hours immediately after determines whether that hard-earned trophy becomes a stunning shoulder mount that lasts a lifetime or a disappointing memory of spoiled hide and slipped hair. Field preparation of the cape is where many hunters, even experienced ones, fall short. African heat, thick hide, and remote locations create a perfect storm for spoilage if you do not act quickly and correctly.
I have spent more than twenty years guiding and hunting across Zimbabwe, Tanzania, and Mozambique. I have watched professional hunters and clients alike ruin world-class bulls through rushed or incomplete work in the field. The difference between a mount that makes visitors stop and stare and one that looks lifeless often comes down to decisions made under a thorn tree with the sun beating down. Proper Cape buffalo shoulder mount prep is not complicated, but it demands attention, the right materials, and respect for the animal. This guide walks through current best practices so your next buffalo trophy arrives at the taxidermist in the best possible condition.
Cape buffalo hides are among the toughest in Africa. The skin around the neck and shoulders can be half an inch thick or more, packed with fat and connective tissue. Combined with daytime temperatures that regularly exceed 90 degrees, bacteria multiply fast. Hair slip begins within hours if the hide is not cooled, fleshed, and salted. Taxidermists consistently report that field care failures account for the majority of problem mounts they receive from Africa. A well-prepared cape gives the taxidermist enough material and a clean starting point to recreate the buffalo’s characteristic heavy boss, sweeping horns, and alert expression. Cutting corners here costs extra money later and sometimes cannot be fixed at all.
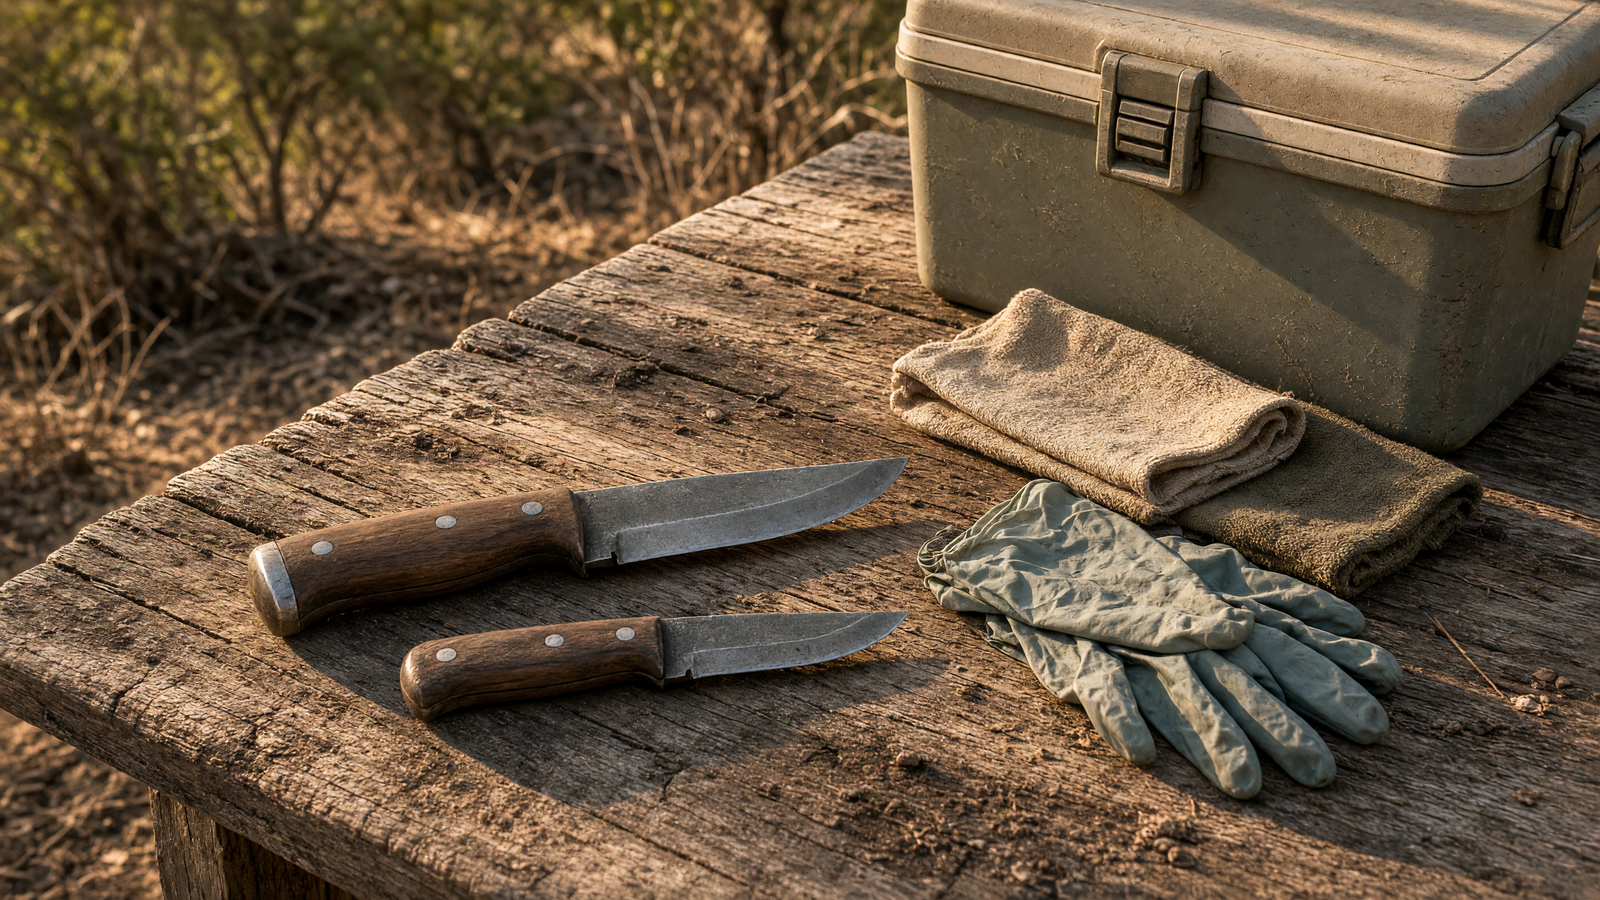
Before the hunt even starts, assemble a dedicated field kit. You need several sharp skinning knives and plenty of extra blades because buffalo hide dulls steel quickly. Include a fleshing knife or beam if you have space, non-iodized salt in quantity (plan on 25 to 40 pounds for a mature bull), heavy rubber gloves, a large tarp, and shade cloth. A simple measuring tape helps you record the dimensions your taxidermist will request. In many camps the professional hunter’s team handles the initial skinning, but you should still know the process and be ready to assist or take over if needed. Modern additions worth considering include a small battery-powered fan for air circulation and commercially available hide preservatives that can be mixed with salt in extremely humid conditions. These products have become more common in the last few years as hunters demand better results from remote locations.
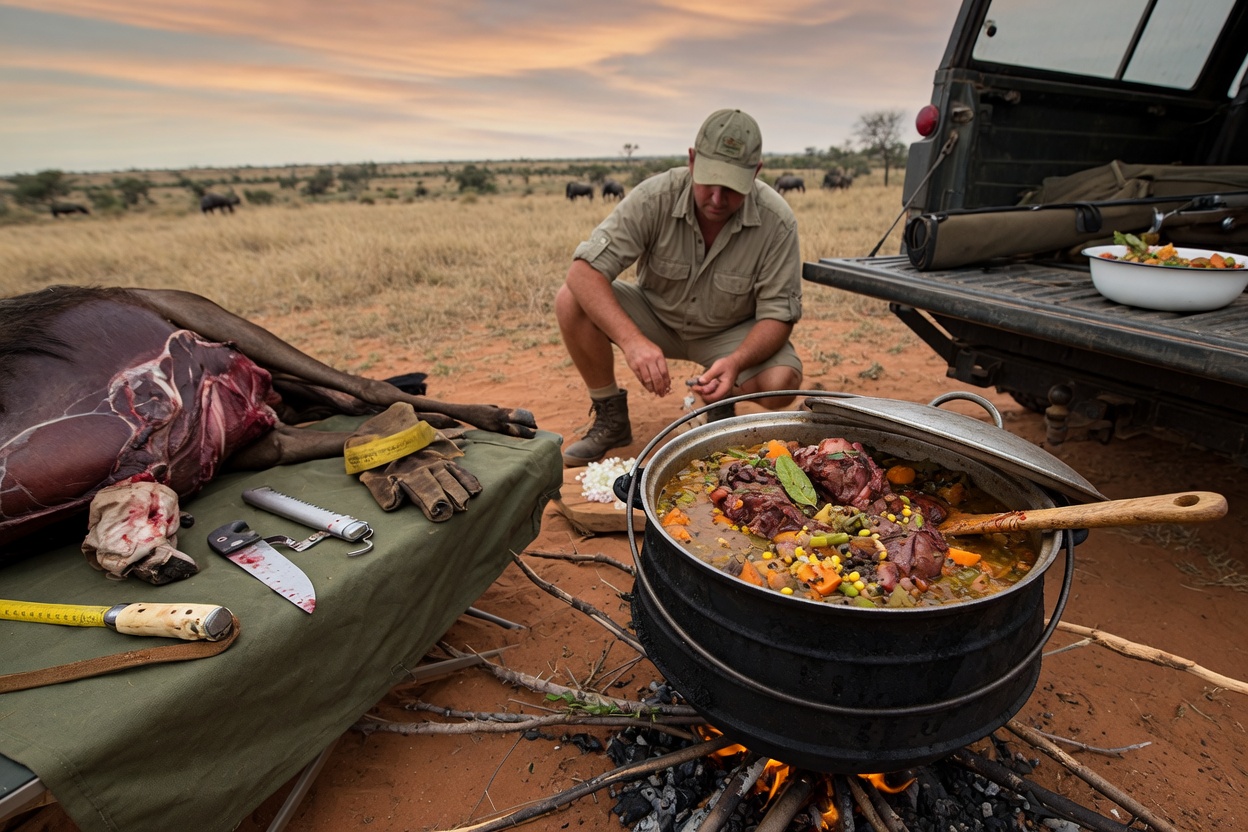
Begin work as soon as the animal is confirmed dead and photographs are finished. Move the buffalo into shade immediately. Position it on its side or back so you can work comfortably. For a standard shoulder mount you need the entire head, neck, and a generous portion of the shoulders and brisket. Make your first circular cut well behind the front legs, typically 8 to 12 inches behind the shoulder to give the taxidermist extra hide. Then run a cut up the back of the neck to the base of the skull. Skin carefully around the horn bases, leaving the hide attached there until the taxidermist decides how to handle the skull. Work slowly around the eyes, lips, and nostrils. These areas require precision because any leftover flesh or cartilage will rot and cause hair loss.
The ears demand special attention. Turn each ear completely inside out and remove every bit of cartilage. This step is tedious but non-negotiable. Split the lips and nostrils fully and scrape away all meat and fat. Buffalo have thick pads of fat along the neck and brisket that must be removed completely. Use your fleshing tool to get down to clean skin. Any remaining tissue becomes a breeding ground for bacteria. Once the cape is off, lay it hair-side down on the tarp in the shade. Begin salting immediately. Use only non-iodized salt. Iodized salt can discolor hair and interfere with the tanning process. Cover every inch of the flesh side generously, working the salt into folds, the ear interiors, and around the lips. Do not be stingy. After several hours, shake off the first layer of wet salt and apply a fresh coat.
Keep the salted hide cool, dry, and well ventilated. Hang it over a pole or lay it flesh-side up in a breezy spot protected from rain and direct sun. In camp this often means under a fly or in a well-shaded area with good airflow. Check it daily. If the hide feels damp or you see any sign of insects, re-salt and improve ventilation. In very remote areas without refrigeration, this traditional method remains the most reliable. Some hunters now carry small amounts of borax to mix with salt for extra protection against insects and moisture, a practice that has gained popularity in the last decade among outfitters working in wetter regions.
Common mistakes are easy to avoid once you know them. The biggest error is cutting the cape too short. Taxidermists always prefer extra hide they can trim rather than having to stretch or patch. Another frequent problem is incomplete ear turning or leftover cartilage. Delayed salting in the heat is equally damaging. Never leave the hide in direct sunlight even for a short time. Do not roll the hide while it is still wet with salt; allow it to firm up first. Finally, fail to communicate with your taxidermist before the hunt. Many have specific preferences for how they want measurements taken or how the horns should be handled.
Once the cape is properly salted and dried to a leathery state, it can be rolled hair-out for transport. Follow all CITES documentation and veterinary requirements for export. Cape buffalo are not listed as endangered, but paperwork is still required and delays at customs can ruin an otherwise perfect hide if it sits too long. Work with a reputable shipping agent experienced in African trophies. Most hunters send the cape and skull to a taxidermist in South Africa or have it shipped home after the hunt. Either way, the quality of your field work determines the final result.
Hunting Cape buffalo contributes directly to conservation across much of southern and eastern Africa. License fees, daily rates, and community benefits fund anti-poaching patrols and habitat protection. Healthy buffalo populations exist today in many areas precisely because well-managed hunting provides economic incentive to keep the animals and their habitat intact. Preparing the trophy with care is one more way we honor that relationship. A poorly handled hide wastes the animal and the conservation dollars it represents.
Take the time to practice these techniques on smaller game before your African safari. Talk with your taxidermist about their preferred methods. When you are in the field, slow down and do the job right even when you are tired and the light is fading. The shoulder mount that results will remind you of the hunt every time you walk into the room. If you have questions about specific conditions in the area you are hunting or want recommendations for taxidermists who specialize in African dangerous game, reach out through the site. Share your own field stories and photos. Ethical hunting and careful trophy care go hand in hand. Your next Cape buffalo deserves nothing less.